How do you install a quartz shower wall?
Used in bathroom renovations quartz is largely used on shower walls as it is very resistant and bears an expensive look. It is important to make sure that quartz shower walls are installed correctly and with attention to detail, not only maintaining an impermeable surface but also a beautiful one. Struggling to install your quartz shower walls as effectively as possible? Use this step-by-step guide installing quartz shower walls!
Materials and Tools Required
The following tools and materials are required before you start the installation:
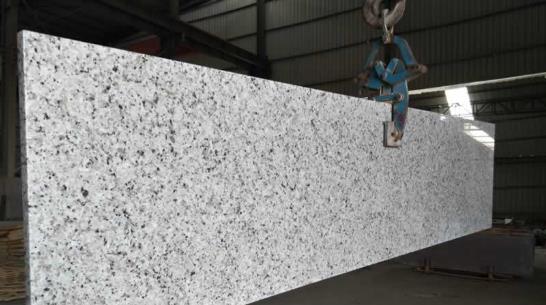
Quartz slabs
Measuring tape
Level
Silicone adhesive
Caulking gun
Drill
Diamond-tipped drill bits
Screws
Jigsaw or Circular Saw(for Quartz cuts)
Safety glasses and gloves
Preparation Steps
-
Measure Your Space Measure the space where you want to install the quartz accurately. This contains the length and width of walls as well. Make sure to factor any fixtures or unique architectural features into your measurements.
-
Surface Preparation The long-lasting effect of the quartz depends on how appropriately it sticks to the walls, they need to be free from moisture and dirt. If you have tiles or other coverings on your walls, remove them and repair all hidden damages so you will have an uniformly smooth substrate.
-
Order the Quartz Find a supplier and order quartz slabs that match your measurements. Make sure that they are the right size and color for your needs in terms of a bathroom.
Installation Process -
Mark the Required Dimensions on the Slabs Use a pencil to mark sizes, if Quartz is not pre-cut in your dimensions. Cut the quartz with a jigsaw or circular saw equipped with a diamond-tipped blade. Highlight: Quartz being harder than glass makes cleaning it up an easier job but always remember to wear safety glasses and gloves as you do not want tiny particles of quartz all over your hands.
-
Dry Fit the Quartz Slabs Before adhering any glue, dry-fitset your quartz sections up against dividers to become accustomed.部.semantic; Place the whites on top of a level to ensure each part is even and make adjustments.
-
Step 3: Apply Silicone Adhesive Using a caulking gun, apply silicone adhesive to the back of each quartz slab. Make sure to spread the adhesive well, ensuring that there are no weak spots where water could get in.
-
Install the Slabs Carefully lay each piece of quartz on the wall, and make sure it makes full contact with glue. Close up with Level to confirm Slab is strait and level side by side the other slabs.
-
Once the glue has dried (consult your manufacturer for cure times) to prevent a watertight seal, you can then fill in the edges and joints between slabs with silicone. This is important to prevent water from seeping in behind the slabs.
-
Fittings New fixtures Drill holes to install fittings such as showerheads and taps on the wall. For more information on drilling quartz, read this article (but be sure to wear a mask when processing your work!) ——->Make sure you use a diamond-tipped drill bit as quartz cracks easily! Silicone each fixture in place to stop water infiltration.
Final Checks -
Check and clean: Inspect the fully installed wall, to verify there are no gaps or misalignments. Thoroughly clean the quartz surfaces, removing any adhesive residue or dust.
By doing this, even if you are considering on getting quartz shower walls that can help with your house improvement plans, these steps will certainly be beneficial in the long run and guarantees a successful installation. Quartz shower walls bring elegance and a luxurious feel to any bathroom space, giving it both style and practicality.